How to Crochet a Headband?
Crocheting a headband is a creative and rewarding project that blends fashion with functionality. Whether you want to keep warm in winter, add a stylish accessory to your wardrobe, or create a personalized gift, crocheted headbands offer endless design possibilities.
With the right materials, stitch techniques, and finishing touches, you can crochet a headband that is comfortable yet stylish.
This guide will walk you through everything you need to know, from selecting the best yarn and hook size to finishing techniques for a polished look. However, note that you need to choose the right material for the yarn, such as high-quality silk.
 Image credits: DIY Candy
Materials Needed
If you’re wondering how to crochet a headband, start by choosing a suitable material. Before starting your crochet project, ensure you have the following supplies:
-
Yarn – The type of yarn you choose will determine the texture and warmth of your headband. Soft acrylic, cotton, or wool-blend yarns are ideal for comfort and durability.
-
Crochet Hook – The recommended hook size varies based on the yarn weight. A 4mm to 5.5mm hook is typically suitable for worsted-weight yarn.
-
Scissors – Used for trimming excess yarn at the end of the project.
-
Tapestry Needle – Essential for weaving in loose ends and creating a seamless join.
-
Measuring Tape – Helps ensure the headband fits properly.
Choosing the Right Stitch
The stitch you use to crochet a headband will impact the stretch, appearance, and texture of the headband. Here are some recommended crochet stitches:
-
Single Crochet (SC) – Creates a dense and warm fabric with minimal stretch. Best for thick, winter headbands.
-
Half Double Crochet (HDC) – Balances tightness and flexibility, making it one of the most commonly used stitches for headbands.
-
Double Crochet (DC) – Produces a looser, more breathable fabric, ideal for lightweight, decorative headbands.
-
Ribbed Stitch (Back Loop Only HDC) – Creates a knit-like texture, making the headband stretchier and more comfortable.
Step-by-Step Instructions
Step 1: Create a Foundation Chain
Start by making a slip knot and chaining a foundation row. The number of chains should be equal to the circumference of the headband.
Sizing Guide:
-
Toddler: 16-17 inches
-
Child: 18-19 inches
-
Adult Small: 20-21 inches
-
Adult Large: 22-23 inches
Step 2: Work the First Row
Once your foundation chain is ready, work your first row using your chosen stitch. Insert your hook into the second chain from the hook (for single crochet) and continue across the row. Ensure each stitch remains even in size for a consistent look.
Step 3: Build the Headband Width
After completing the first row, turn your work to begin the second row. Follow these steps:
-
Chain one for single crochet or chain two for double crochet.
-
Work stitches across the row, maintaining even tension.
-
Repeat the process until the band reaches the desired width, usually 3 to 5 inches.
Step 4: Seam the Ends Together
Once the headband reaches your desired width, it's time to join the ends.
Methods for Seaming:
-
Slip Stitch Join – Fold the headband in half and use a slip stitch to join the two ends. This creates a secure, nearly invisible seam.
-
Whip Stitch – Use a tapestry needle to sew the edges together with small, neat stitches.
-
Twist Join – Twist one end of the headband before seaming to create a stylish front knot.
After seaming, weave in all loose ends with a tapestry needle to create a clean finish.
Styling Variations
The Chunky Winter Headband
For extra warmth and texture, use bulky yarn and a double crochet stitch to create a thick, cozy headband perfect for winter.
The Boho Lace Headband
For a delicate, lightweight option, try using a chain lace stitch with fine cotton yarn. This works beautifully as a summer hair accessory.
The Braided Crochet Headband
For a unique look, crochet three separate strips and braid them together before securing the ends. This adds a stylish, layered effect.
The Twisted Knot Headband
To achieve a trendy, turban-style look, twist the fabric before seaming it together. This design is fashionable and functional.
Customization Options
One of the best aspects of crocheting a headband is the ability to customize it to match your style. Here are some creative ideas:
-
Color Blocking – Use two or more yarn colors to create stripes or an ombre effect.
-
Embellishments – Sew on buttons, beads, or appliques for a decorative touch.
-
Floral Additions – Crochet small flowers and attach them to the band for a feminine look.
-
Ear Warmer Design – Make the headband extra wide to double as an ear warmer in cold weather.
Tips for a Perfect Fit
To ensure that it fits well and retains its shape over time, follow these tips when you crochet a headband:
-
Measure Twice, Crochet Once – Always measure your head before starting.
-
Adjust the Hook Size – If the band feels too tight, go up a hook size; if it's too loose, go down a size.
-
Use Stretchy Stitches – Ribbed stitches and back-loop-only techniques add elasticity.
-
Block Your Headband – Gently steam your finished headband to relax the stitches and ensure an even shape.
Caring for Your Crochet Headband
To keep your handmade headband in top condition, follow these care instructions:
-
Hand Wash Preferred – Gently wash with mild soap and cold water to prevent stretching.
-
Lay Flat to Dry – Avoid wringing out the headband; instead, lay it flat on a towel to dry.
-
Store Properly – Keep your headband in a drawer or storage bag to prevent it from losing shape.
Common Mistakes and How to Avoid Them
Uneven Stitches
Solution: Maintain consistent tension and use stitch markers to keep track of rows.
Headband Too Loose or Tight
Solution: Adjust the number of stitches in your foundation chain or change hook sizes.
Seams Are Too Visible
Solution: Use a seamless join technique like slip stitching or the mattress stitch method.
Headband Curls at the Edges
Solution: Block the finished headband using steam or a damp cloth to relax the stitches.
Crocheting a headband is an enjoyable and practical project that allows you to express creativity while crafting a stylish accessory. Whether you prefer a simple, classic design or an intricate, decorative pattern, the possibilities are endless. By choosing the right yarn, mastering essential stitches, and following proper finishing techniques, you can create a high-quality crochet headband that is both fashionable and functional.
With this guide, you now have all the steps and tips to make a perfect crochet headband. Experiment with different styles, colors, and stitches to craft a unique accessory that suits your personal taste. Happy crocheting!
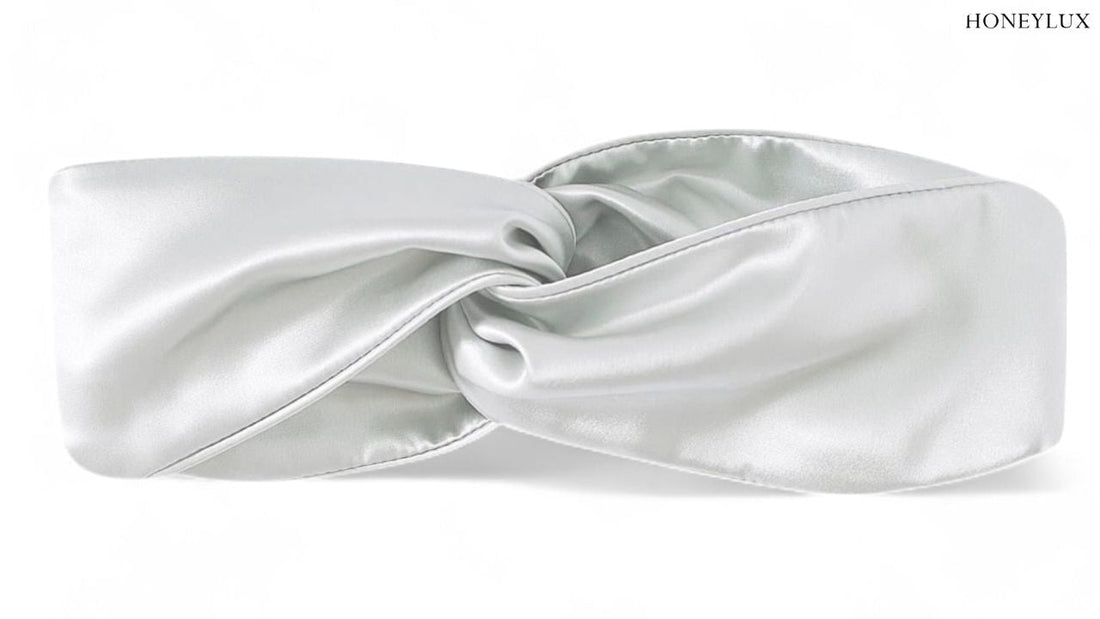
Important Note: Crocheted headbands might not be the best headband unless you do it right. It might be hard for beginners. If it’s too tight, it might be very uncomfortable while it might slip off if it's too loose. It’s always best to opt for high-quality silk headbands that are professionally manufactured.

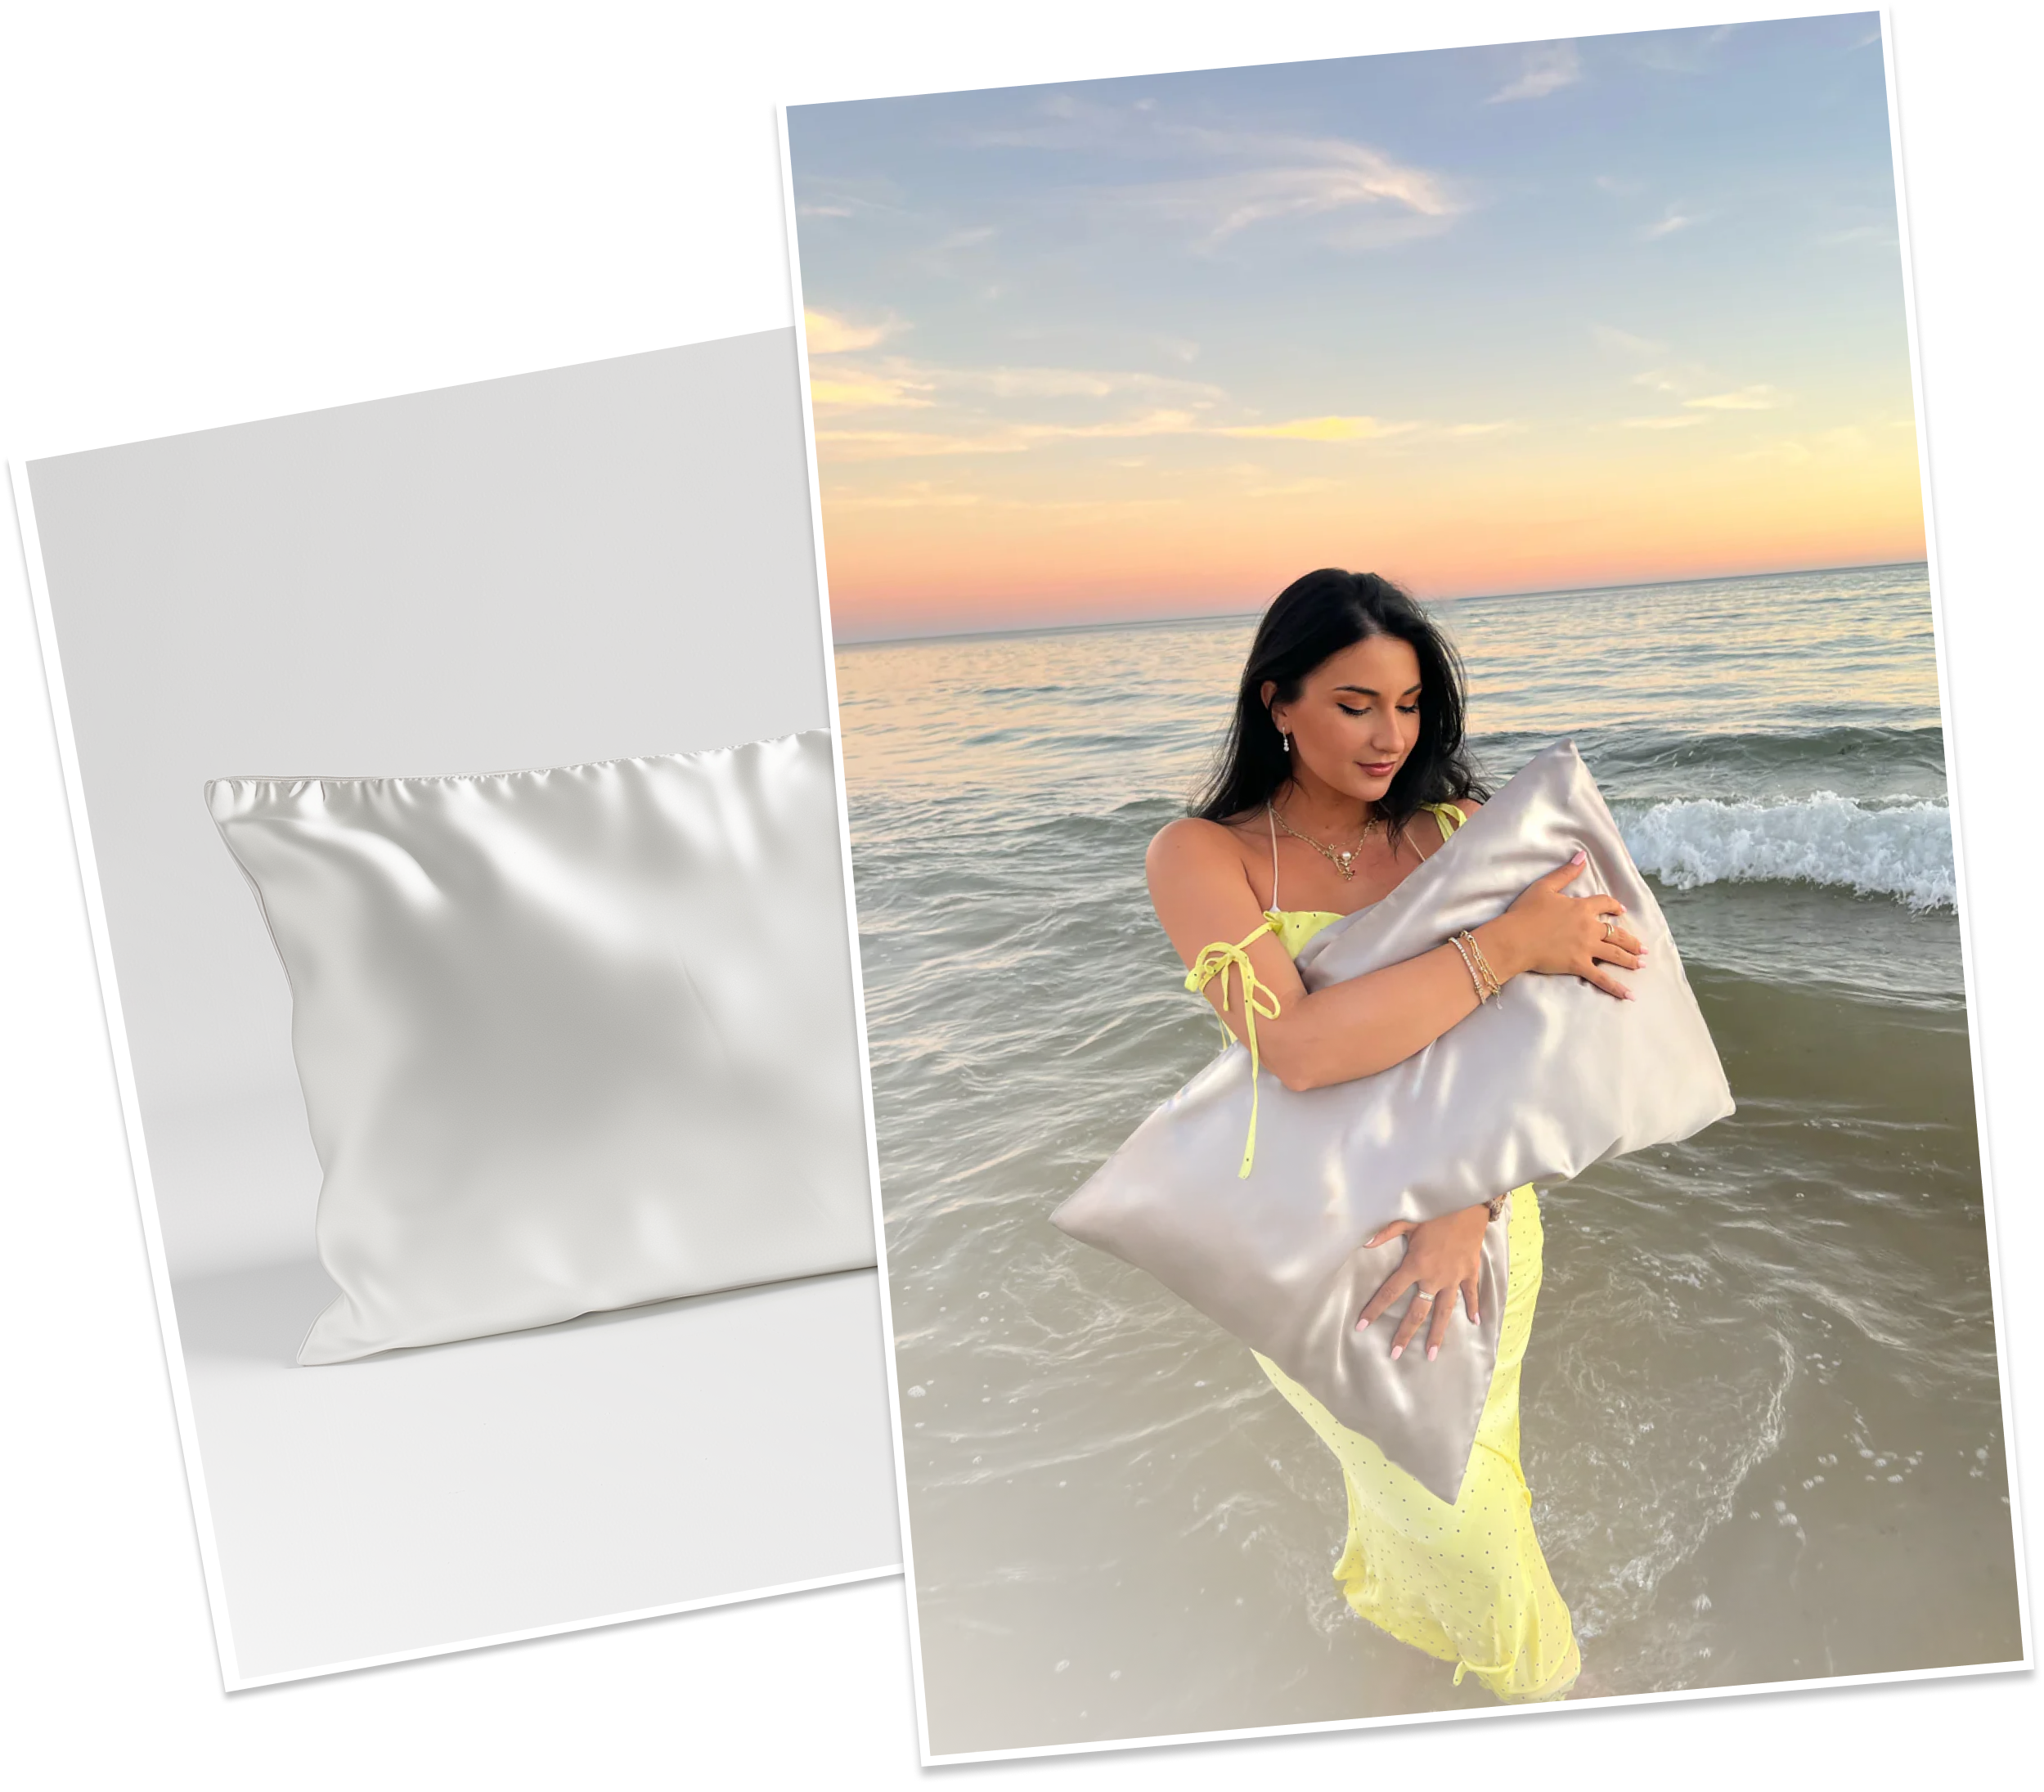
Silk Headband, HoneyLux
HoneyLux is a woman-owned sustainable brand that curates luxurious, premium quality silk headbands that are super gentle on your hair and amp up any outfit! The brand also offers a wide range of certified organic organic silk pillowcases, silk scrunchies, and silk hair turbans and wraps, bringing affordable luxury to your doorstep.